
Making Paper Bag Snowflakes // Sustainable Holiday Decor

Crafting paper bag snowflakes is a delightful and whimsical way to bring the beauty of winter into your home. With just a few simple supplies and a touch of creativity, you can transform ordinary paper bags into stunning snowflake decorations. Whether you're looking for a fun activity to do with the kids or wanting to add a cozy, festive touch to your space, paper bag snowflakes offer endless possibilities for personalization and can be a charming addition to any winter decor. So, grab your scissors and let your imagination take flight as you embark on a crafting adventure that celebrates the magic of the season.
Here is what you will need to make these paper bag snowflakes:
Paper bags (you can use any size, we just picked up this pack of 100 for $2, and you’ll need 9-12 bags per snowflake)
Hot glue gun (I used liquid glue for visibility, or you can use a glue stick as well)
Scissors
Twine or string to hang the snowflakes
First
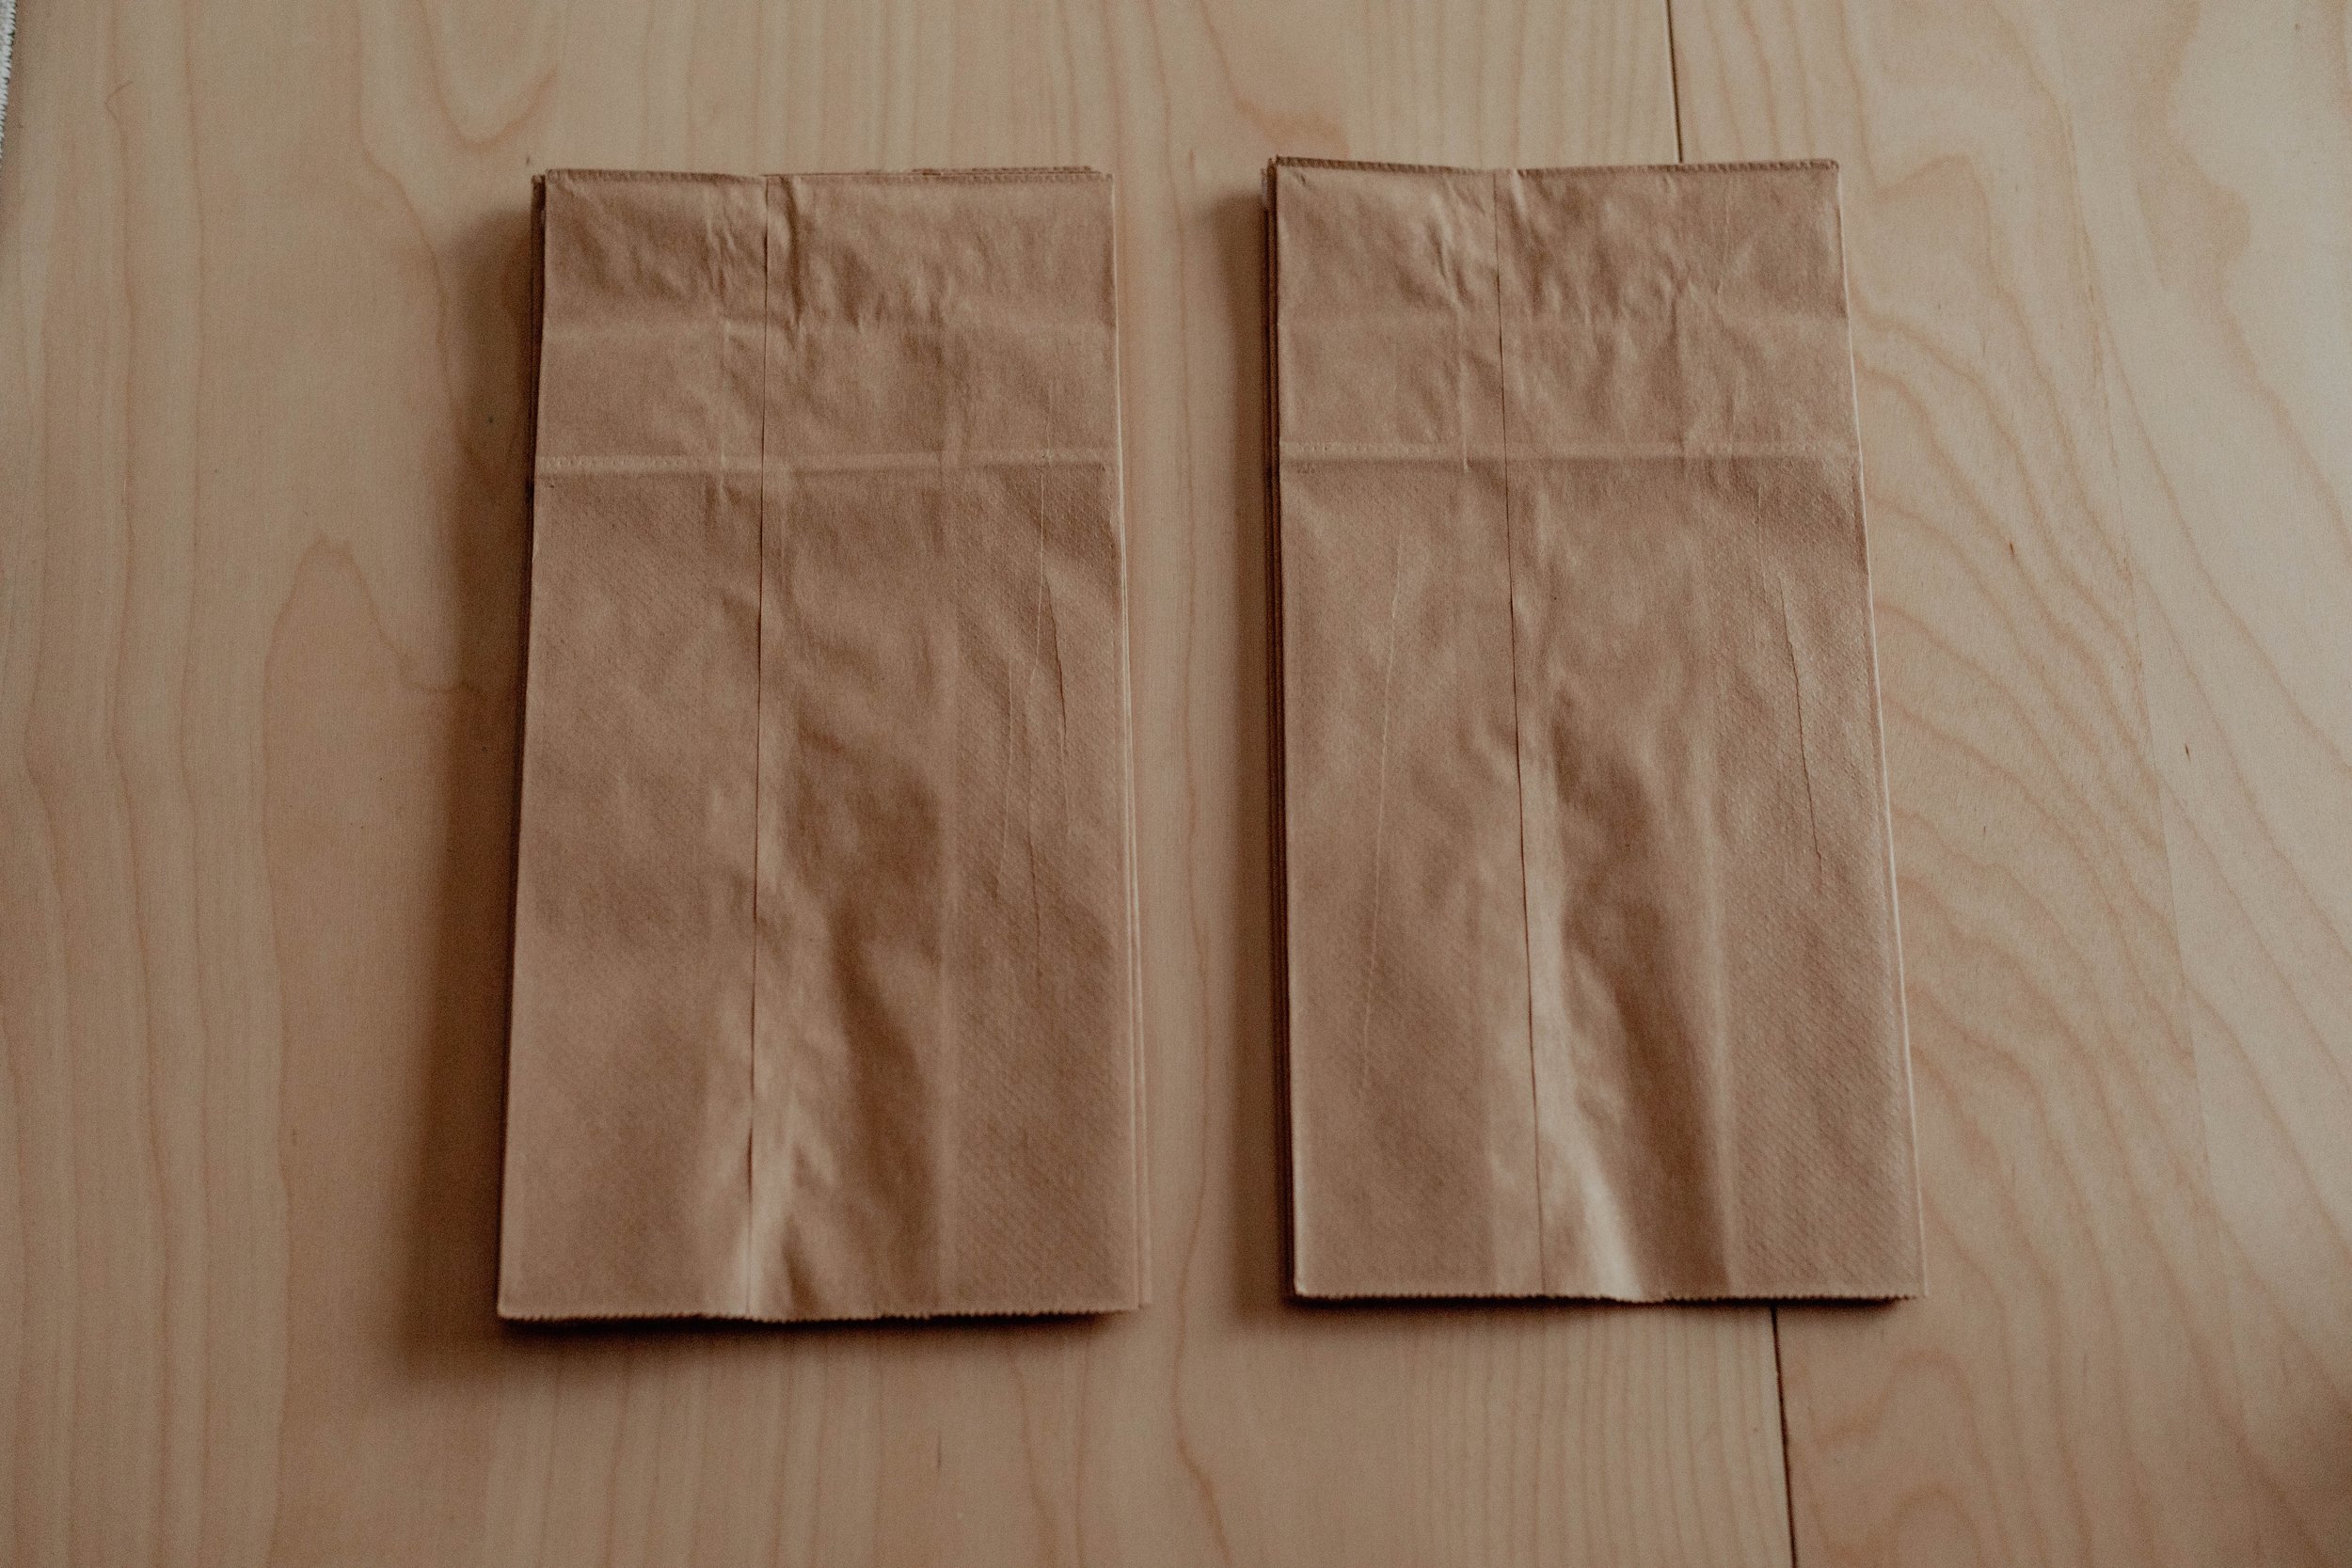
Take your paper bags with the folded end side down and on the top (open end down).
Run a line of glue along the bottom of the bag and straight down the middle like a ‘T’.
Then you can layer another bag on top, repeating this process about 9 or 10 times (depending on your method of gluing).

Next
I prefer to split my pile in half to make it easier to cut. So one pile has 4 and the other pile has 5 lunch bags.
I’ll go ahead and cut the one pile, then use it as a stencil for the other pile.

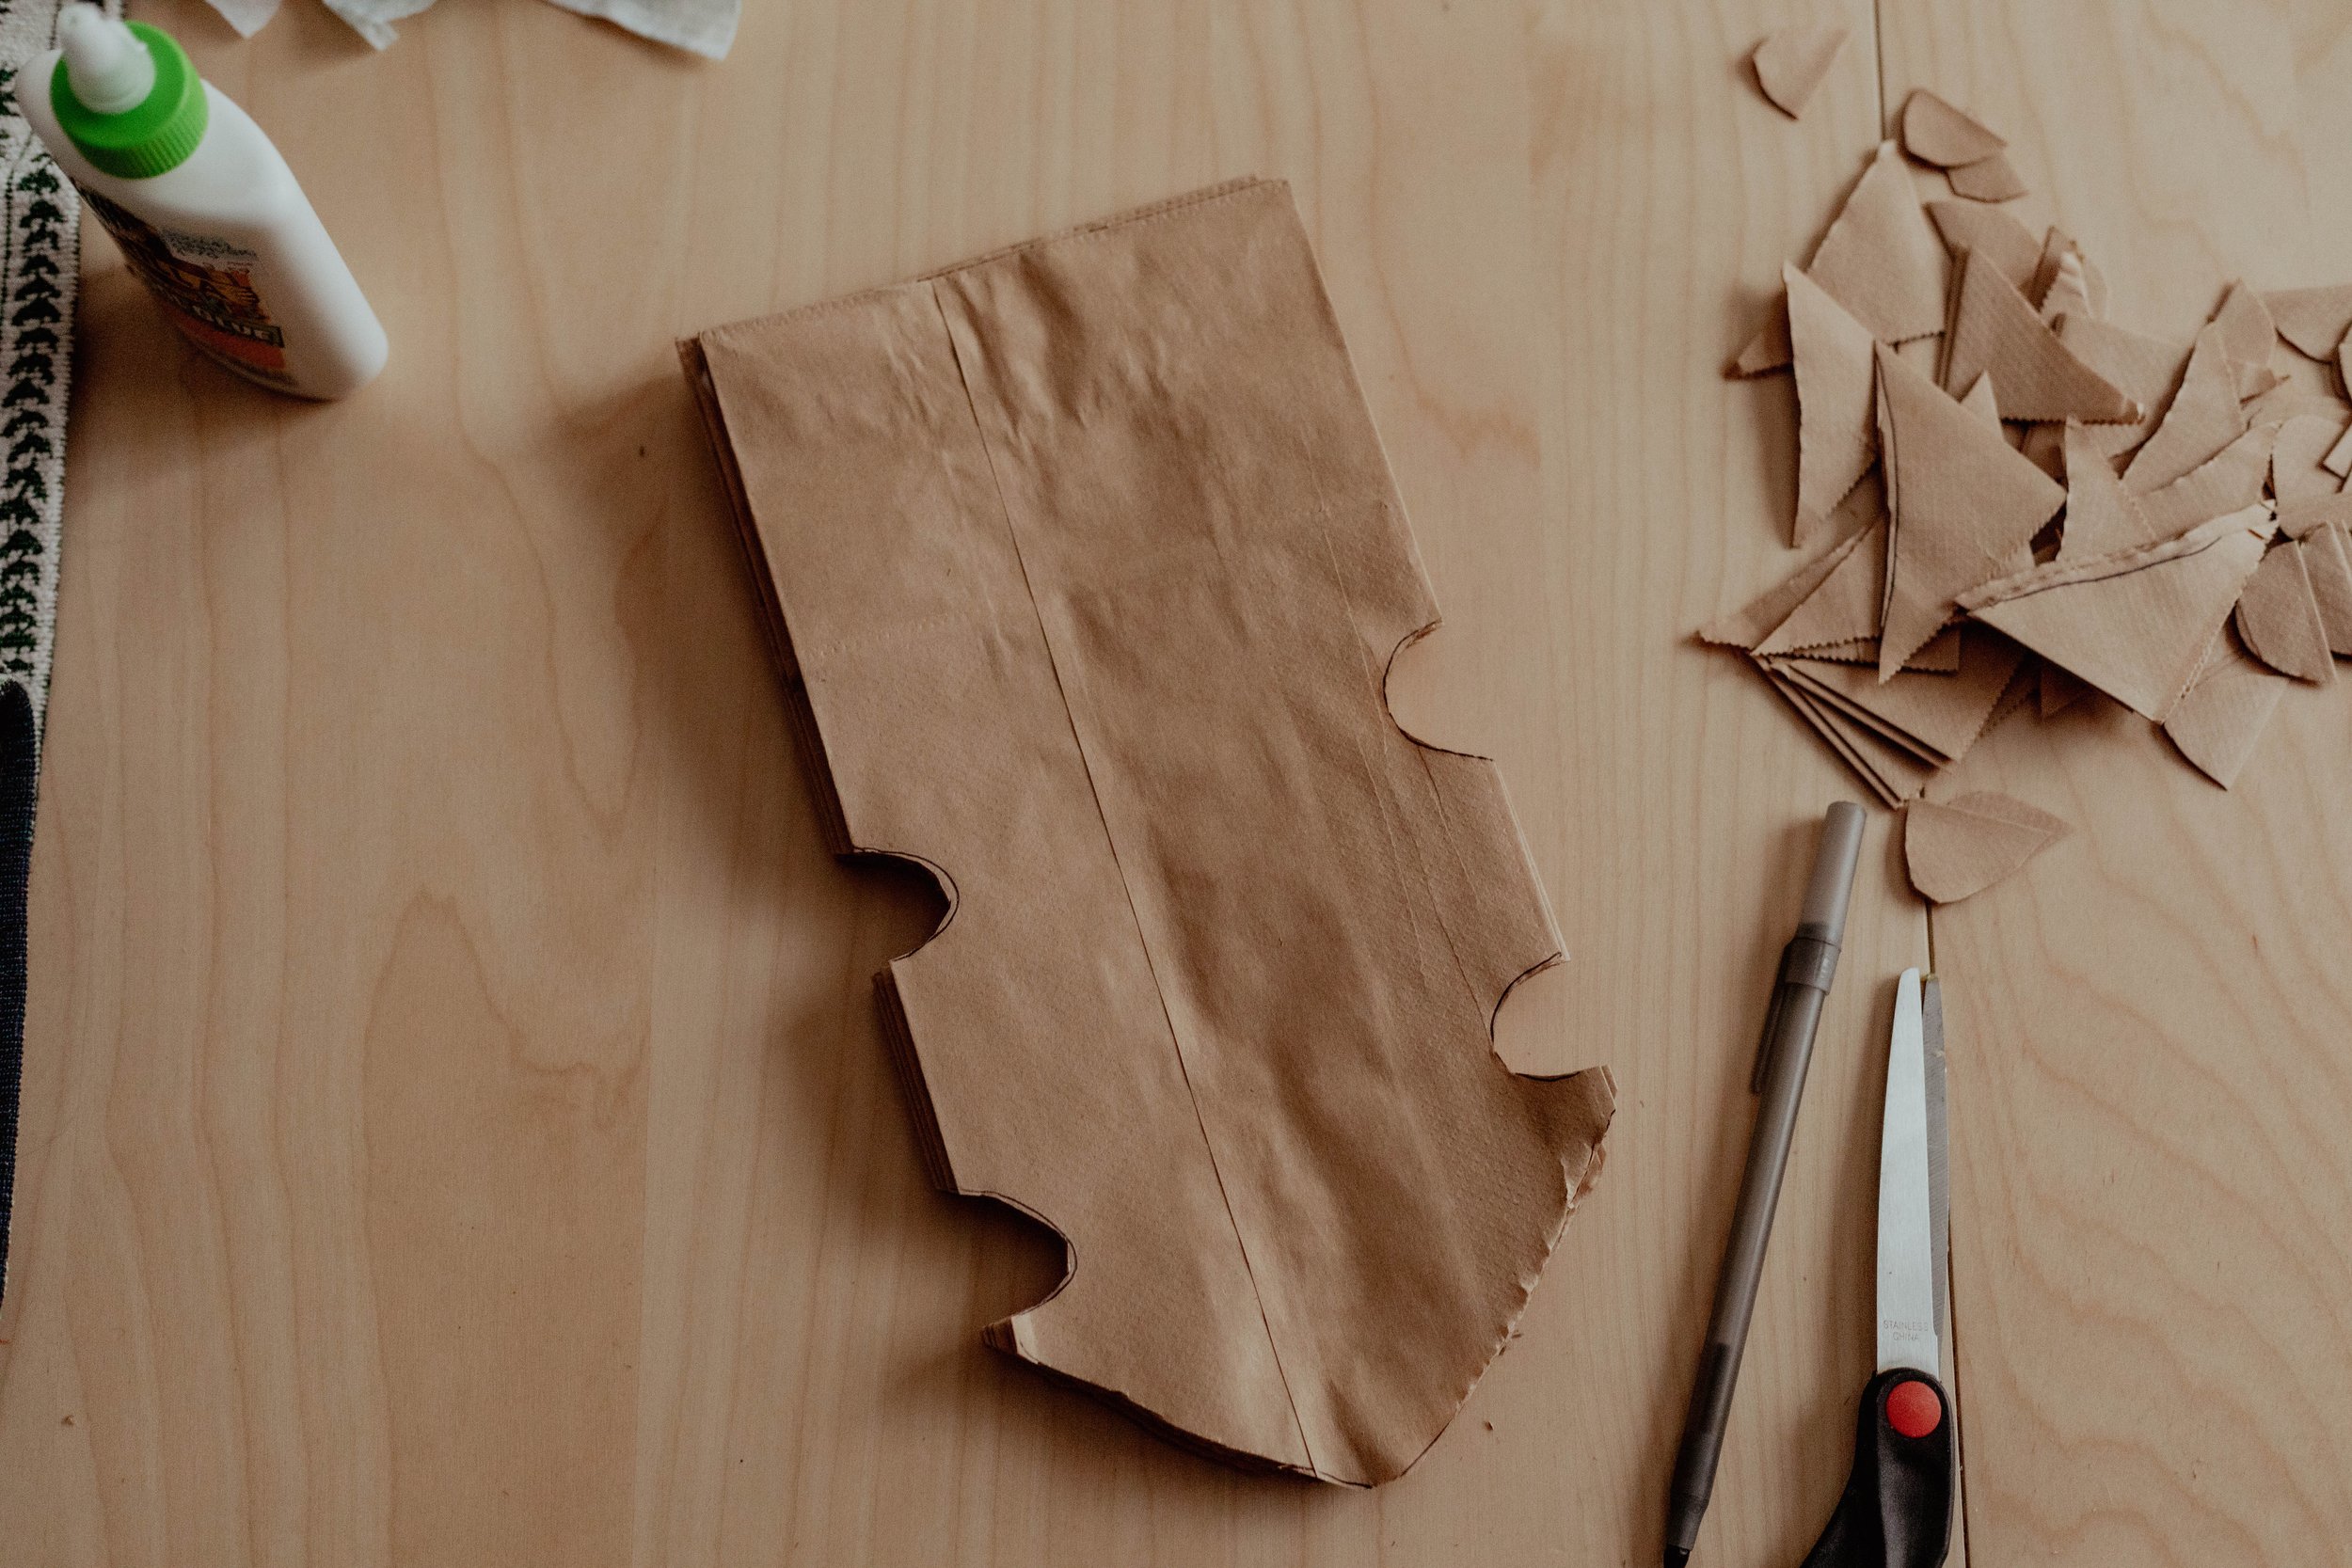
I only cut a handful of shapes. You don’t need to go too crazy with these, but you can if you prefer it!
Just don’t forget to cut the sides to create a point at the open end of the bags.
After you glue the two piles together, lay one final ‘T’ glue line, open up your snowflake, and stick the two ends together.
Note: If you are using liquid glue, you’ll need a clip to hold the ends together until it dries. If you are using a glue stick, I find that gluing the whole bag and layering 12 lunch bags works best.

Finally
After your snowflake is finished, glue a piece of twine or yarn to the back or hole punch inside one of the ‘points’.
I hung mine with simple cotton sewing thread so it looks like they are floating.
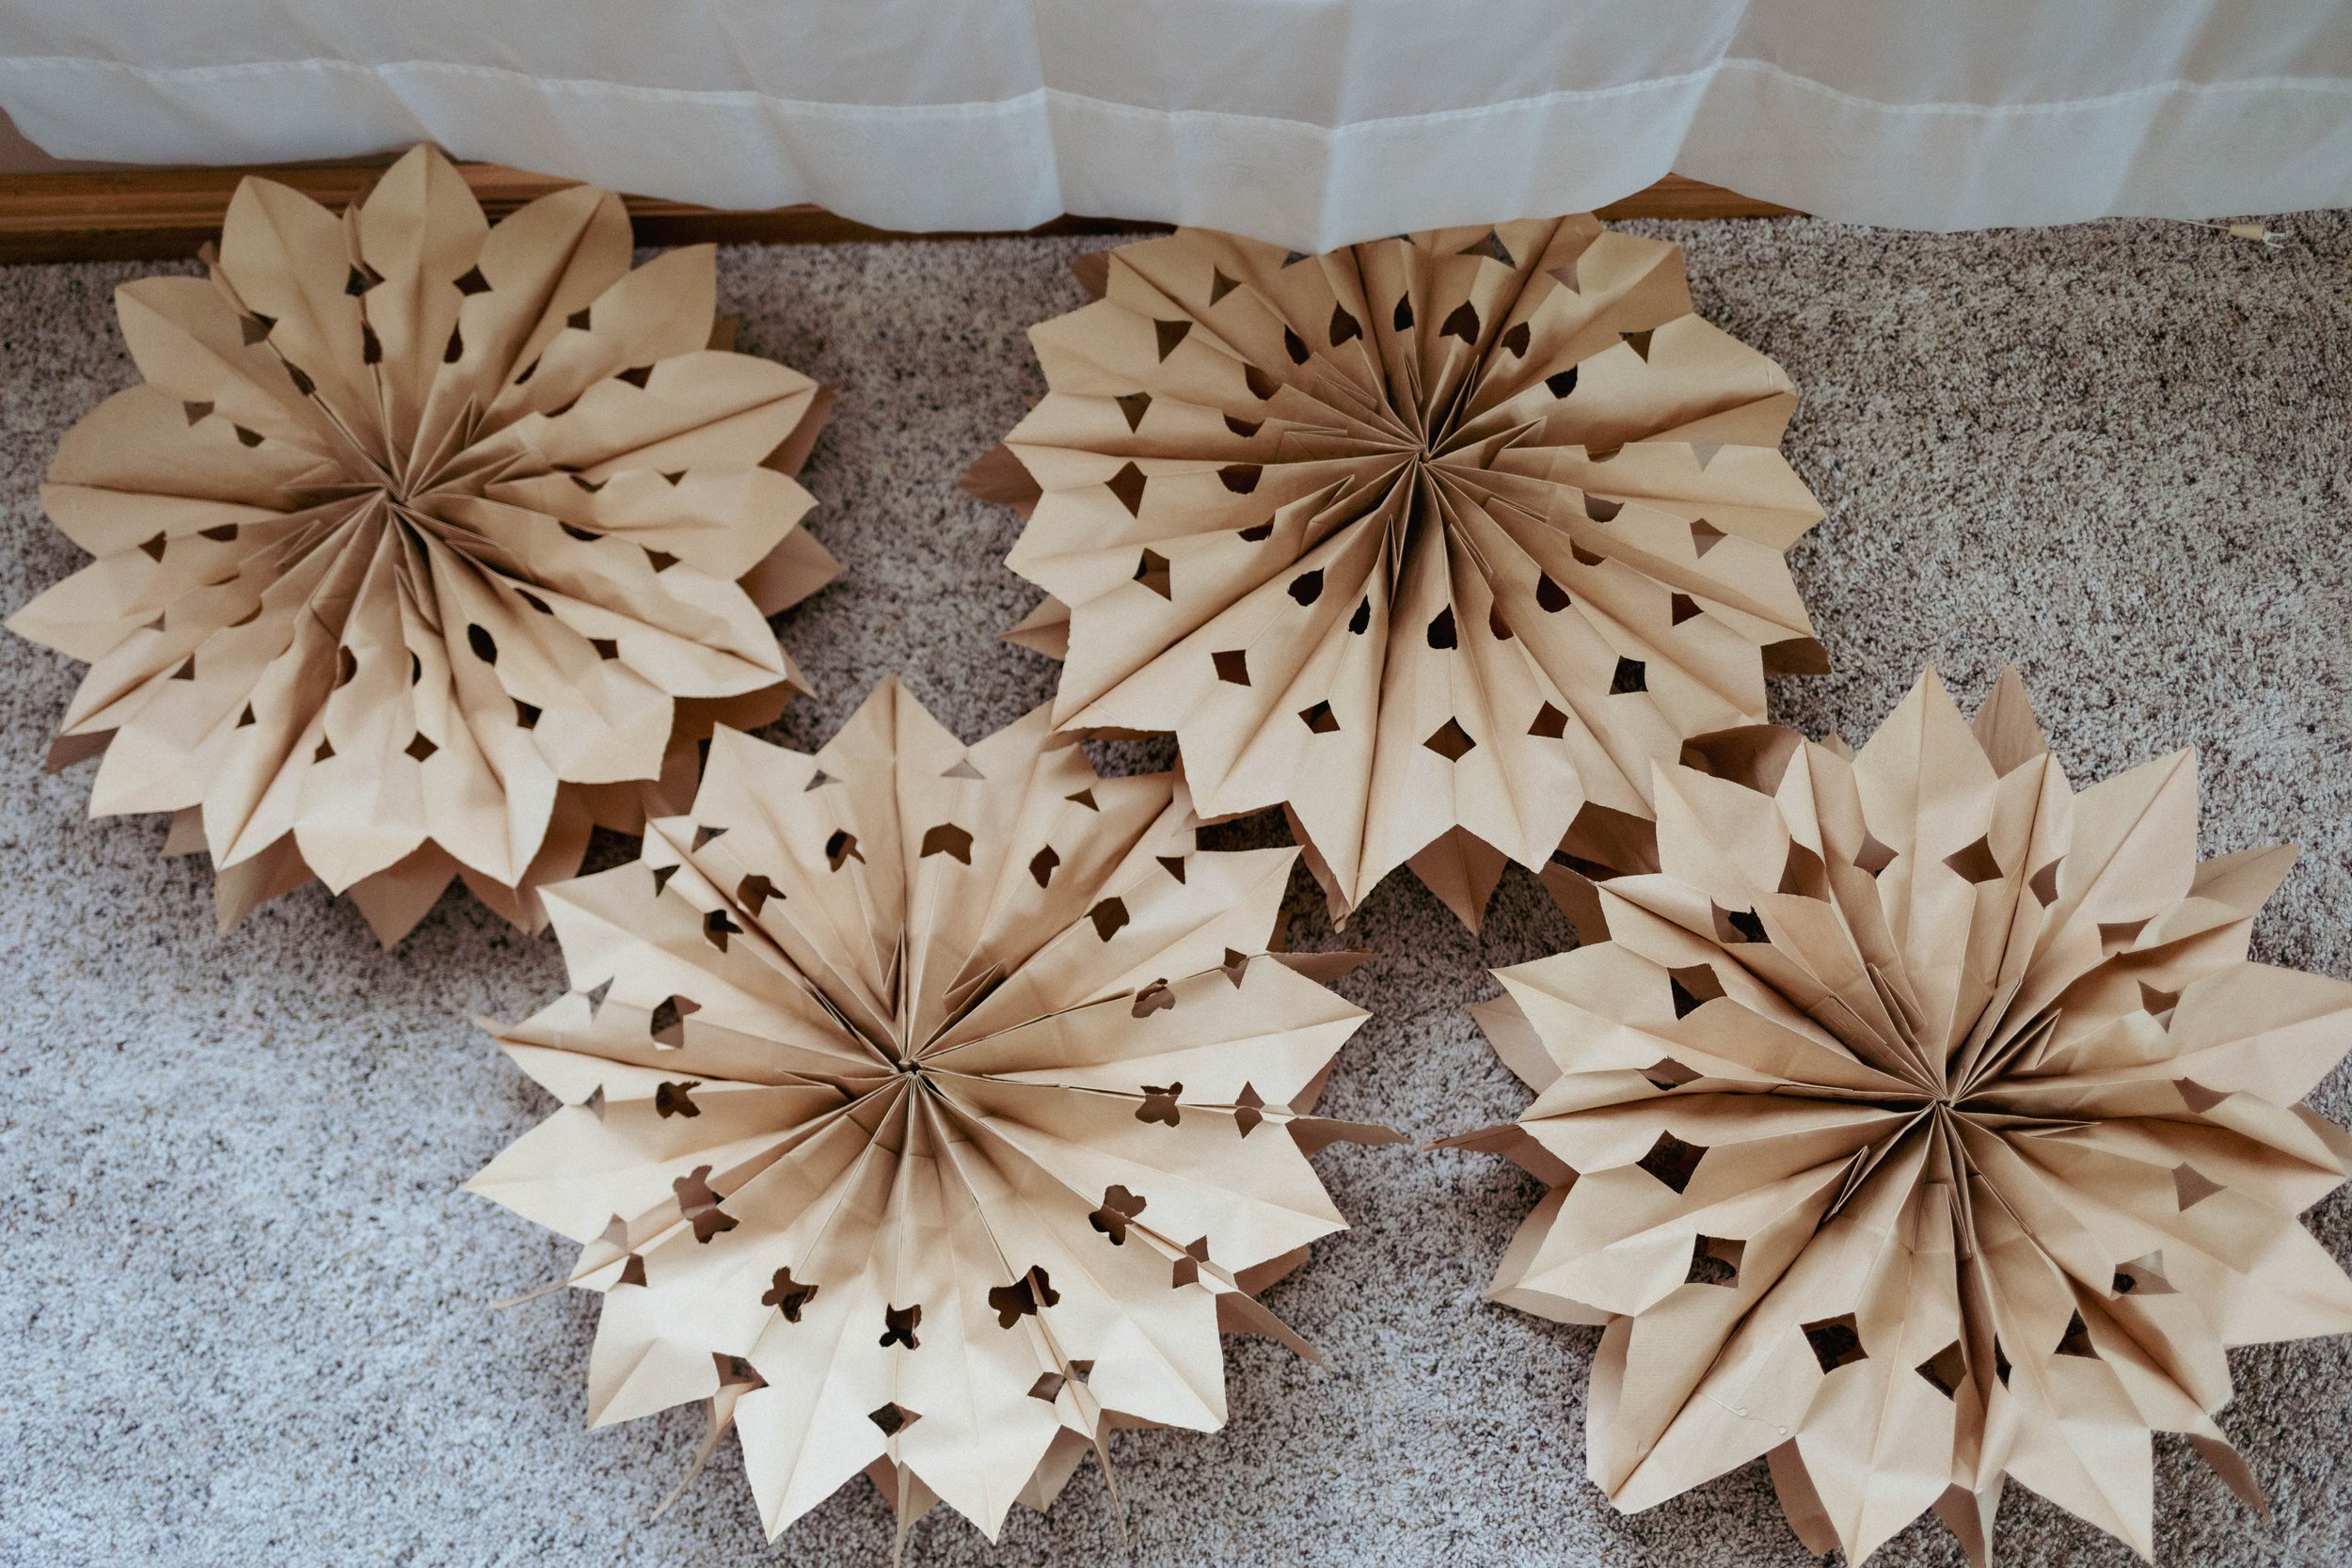

We hung ours up behind the Christmas tree and in our kitchen for some festive fun! Dress them up with white paper bag snowflakes, 3D paper snowflakes, or even a strand of garland.
These are so timeless, you can even leave them up until spring!


Where will you hang yours? If I didn’t make the instructions clear enough, please let me know in the comments below so I can elaborate and correct the post!